How do you transfer files from an iPhone to a Mac without iTunes? All of these have been made possible by Mac computers with exceptional performance capabilities. There are numerous methods for transferring files from iPhone to Mac and vice versa with a few mouse clicks. Apps that operate as efficiently as possible are the superior alternative. We will examine the top three methods for transferring files from iPhone to Mac.
Part 1. Mobile Trans Transferring Files from iPhone to Mac
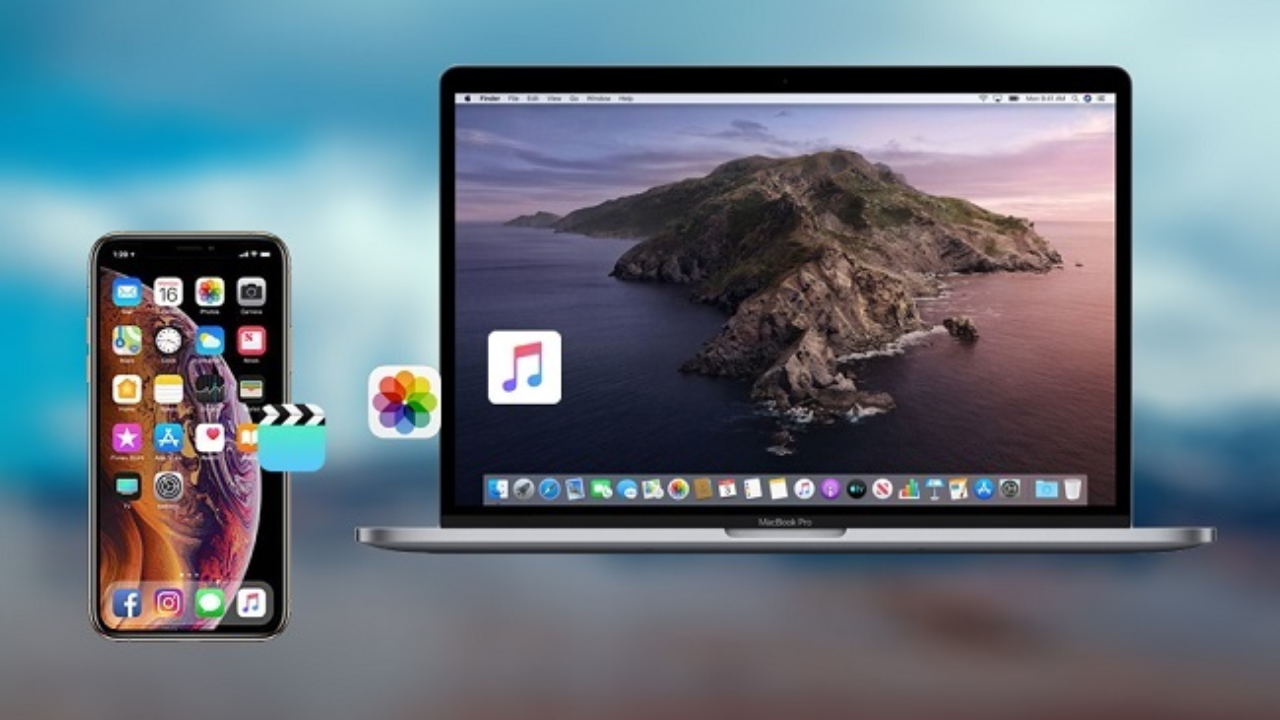
MobileTrans is a robust application that is compatible with both iPhone and Android smartphones. It can restore files from backups and transfer files between phones, among other capabilities. If you’ve been pondering how to transfer files from a Mac to an iPhone without iTunes, then this option is the answer.
Step 1. Download MobileTrans to Link iPhone to Mac
This is possible with a USB cord. The computer will indicate a new device once it is connected. Launch the MobileTrans application to select the transfer option.
Step 2. Choose the files to be transferred
This step will allow you to view all iPhone-stored files. MobileTrans has simplified the process of accessing iPhone files on a Mac by populating the whole list. Choose the files you wish to transfer to your Mac.
Step 3. Start Transfer
To initiate the transfer process, click the “Start” button to allow your files to be moved to Mac. Then, you may choose to back them up on your Computer for future extraction. The files will soon be backed up to a Mac.
Related: How to Move Contacts Between an iPhone and an Android?
Part 2. AirDrop: How to transfer files from iPhone to Mac
This Apple technology is also an excellent option for transferring or copying files from an iPhone to a Mac. Your iPhone must be awake because AirDrop can only function well when it is engaged. This allows for the easy movement of files from one device to another or from one Mac to another.
Step 1. AirDrop must be enabled on your iOS device
This is accomplished in the control center. Slide from the bottom to the top of the display to reach the menu of activation airdrop settings. Make the Airdrop available. Swipe up to open Control Center > AirDrop > Choose Contacts Only or Everyone. Then choose files, such as photographs. After transmitting the photo or file, the word Sent will appear next to the recipient’s device in the AirDrop row.
Step 2. Connect to Apple
Follow these instructions on your Mac: Finder > Menu Bar > Go > Airdrop > Allow me to be discovered by > Contacts Only or Everyone. With Airdrop, you may then transfer files from iPhone to Mac or exchange files from Mac to iPhone. In Finder, your iPhone will be located. When you send files from your iPhone to your Mac, you will receive a notification asking you to approve the files. If you have used the same Apple ID for your iPhone and Mac, the files will be immediately downloaded to your Mac.
Related: How to Organize Your iPhone with Folders?
Part 3. Using iCloud to move files from an iPhone to a Mac
iCloud is an online storage service for iOS devices. iCloud is a sophisticated program that backs up your data and contacts, which may sync straight with your Mac using the same Apple ID.
Step 1. Open iCloud on iPhone
Perform these instructions on your iPhone: navigate to Settings > iCloud > iCloud > turn it on.
Step 2. Open iCloud on Mac
On your Mac, navigate to System Preferences > iCloud > ensure iCloud Drive is enabled and checked in the Desktop and Documents folders > click Done.