


Over the years, I have put baseboards for what seems like miles, yet up until my most recent project, I’m not sure I finished a single one right. Since I was preparing to install many hundred feet of baseboards made of stain-grade Sapelle in my home, I made the decision that this was the perfect moment to improve my finish-carpentry abilities. However, for some reason, I was unable to locate a clear list of the advice and techniques I can actually utilize to do high-quality trim work. In order to properly plan for my large project, I spoke with various finish carpenters and combed the internet for the most vital advice and tactics. I will now share these tips and tricks with you.
Finish carpentry for stains is far more challenging and forgiving than trimming for regular paint. There is no Bondo to cover the outside miter that didn’t quite fit, and there is no caulk to cover the spaces near the wall. In essence, everything must fit while it is being cut.
with a couple of exceptions that we’ll discuss. Having said that, your baseboards will appear even better if you can paint them with stain-grade quality. All of these recommendations are generally applicable to paint- and stain-grade trim. I’ll go through a few pointers that are relevant to both paint and stain grades.
Finish Prior to Installation
It surprises me how frequently I witness individuals attempting to paint their baseboards after they have been installed. In an unfinished house where I wouldn’t have to bother about taping off the walls or floor, that would be the only time I would think about painting after putting baseboards.
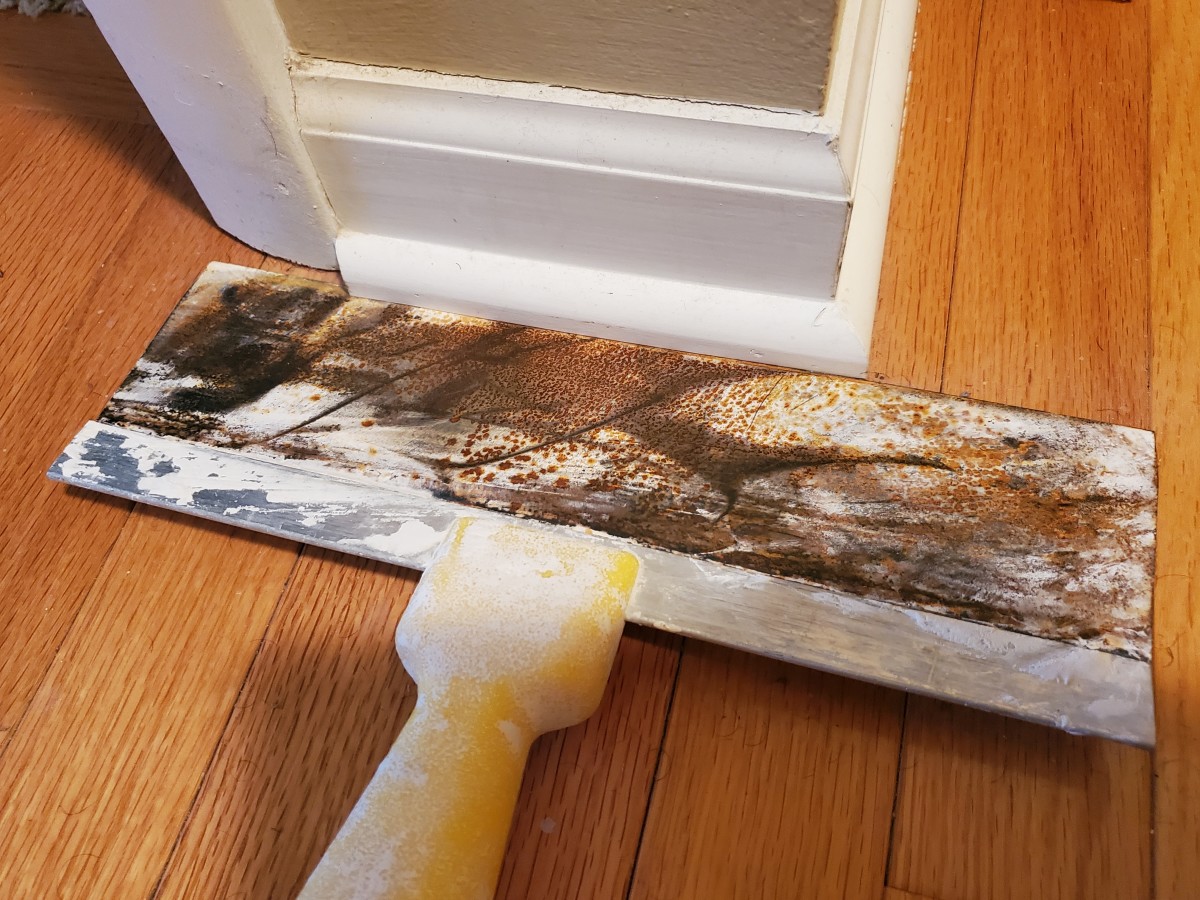
Stain grade is comparable. Before making a single cut, I used Rubio Monocoat to finish all of my baseboards (ironically, they were not stained). Yes, after installation, you still need to paint over nail holes and seams. But compared to painting the entire item in place, it is far simpler. Not to add by putting a piece flat and allowing the finish to self-level, you can get a nicer finish.
Read More: Cannabis Under Microscope: These Incredibly Close-Up Pictures Might Astound You.
Identify the Ideal Miter
Everybody is aware that interior corners are never exactly 90 degrees. I used to believe that there was nothing we could do to stop it, which is why caulk was created by god. I needed to learn how the professionals get perfect corner joints because I was about to install hardwood baseboards and wouldn’t be able to use any of that magic caulk.
It turns out that the kind staff at Starrett solved the problem for us. They created a straightforward gadget that you wrap around your corner to determine the precise miter to cut. Even further, it demonstrates one cutting angle for both sections. It will link up exactly without any addition or subtraction if you cut each corner at 46 degrees if it points in that direction. Utilize your saw’s factory miter angles to make the cuts. They’re not very accurate, no. But unexpectedly, they are adequate.
Read More: Travel Hacks: Travel Tips that Will Transform Your Traveling Forever
All You Need Is 18 Gauge.

Get an 18 gauge brad nailer and call it good if you don’t have a nail gun and only want to buy what you need to finish the task. I have a framing nailer, a staple gun, and 15, 16, and 18 gauges. And 95% of the time, I reach for the 18 gauge. potentially even more than that It produces a lovely little hole, accepts brad nails as short as 5/8″, as long as 2″, and has enough holding power for the majority of little work. I used brad nails of this length on all of my baseboards.
To Know More Latest Updates You Can Visit Our Website: The News Pocket